

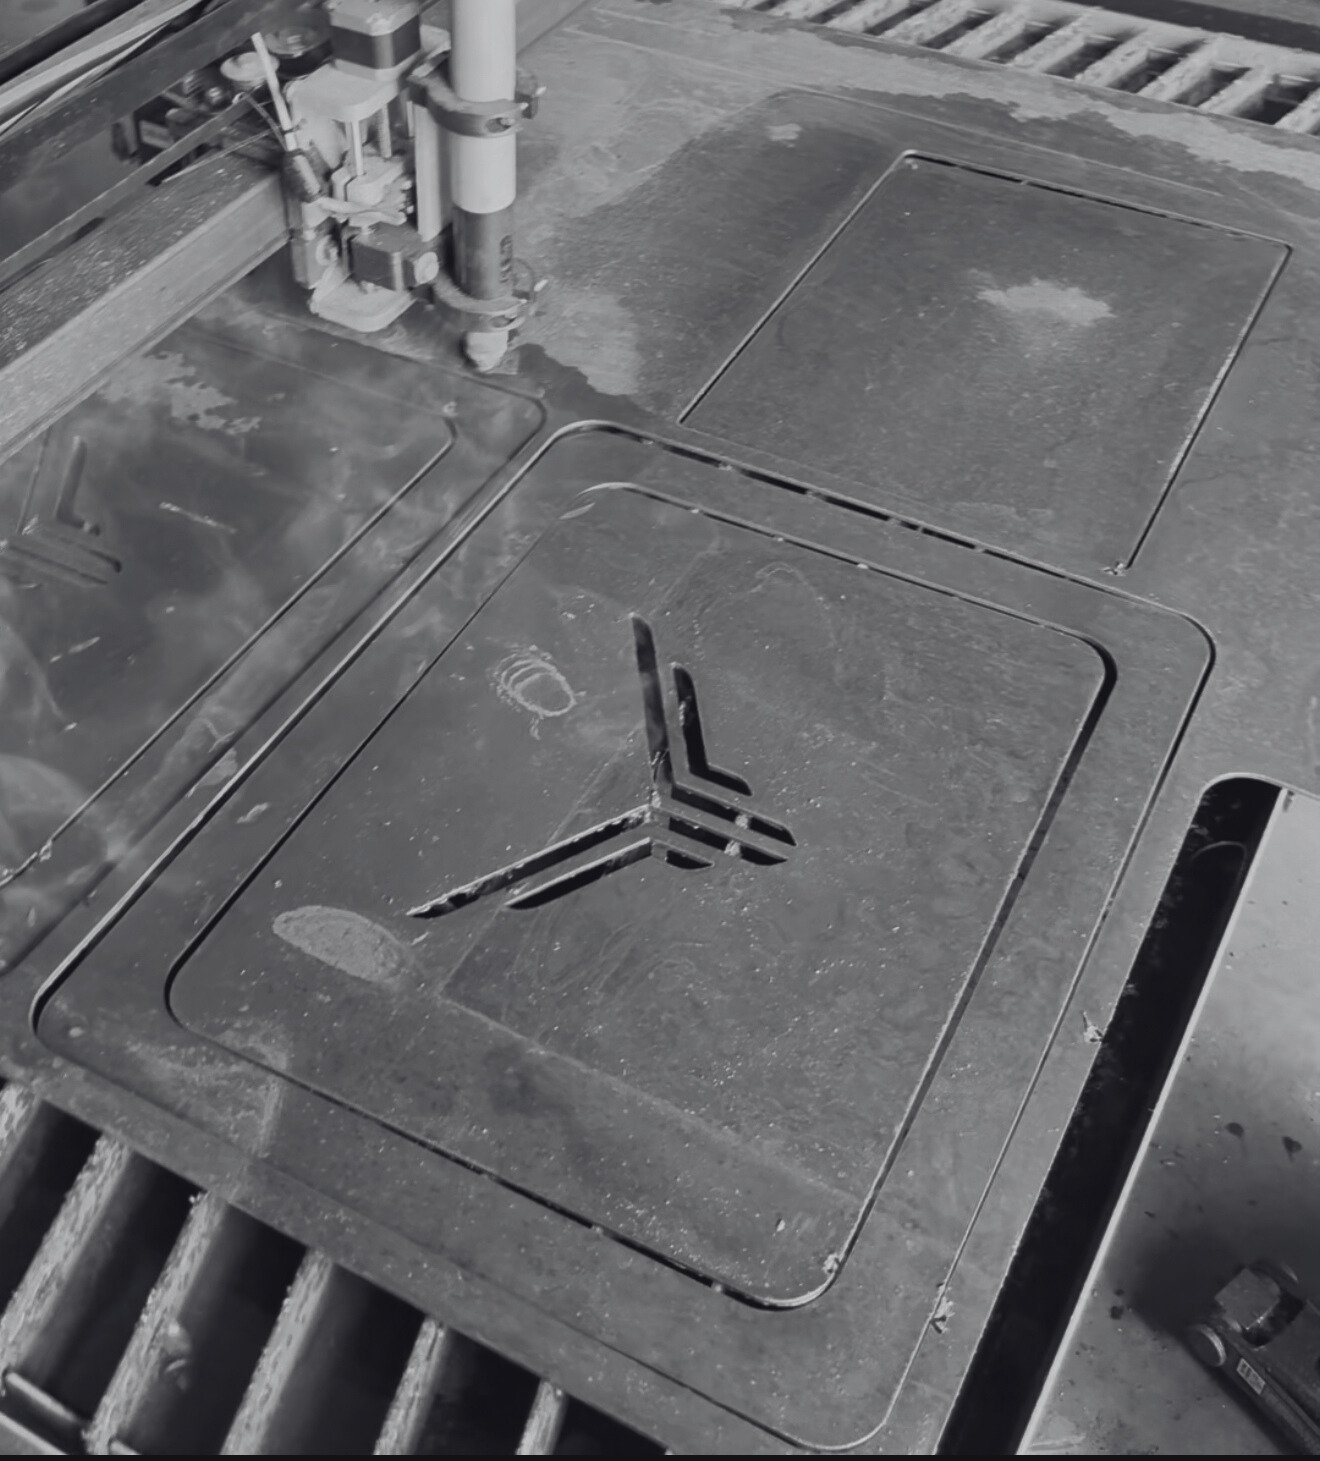
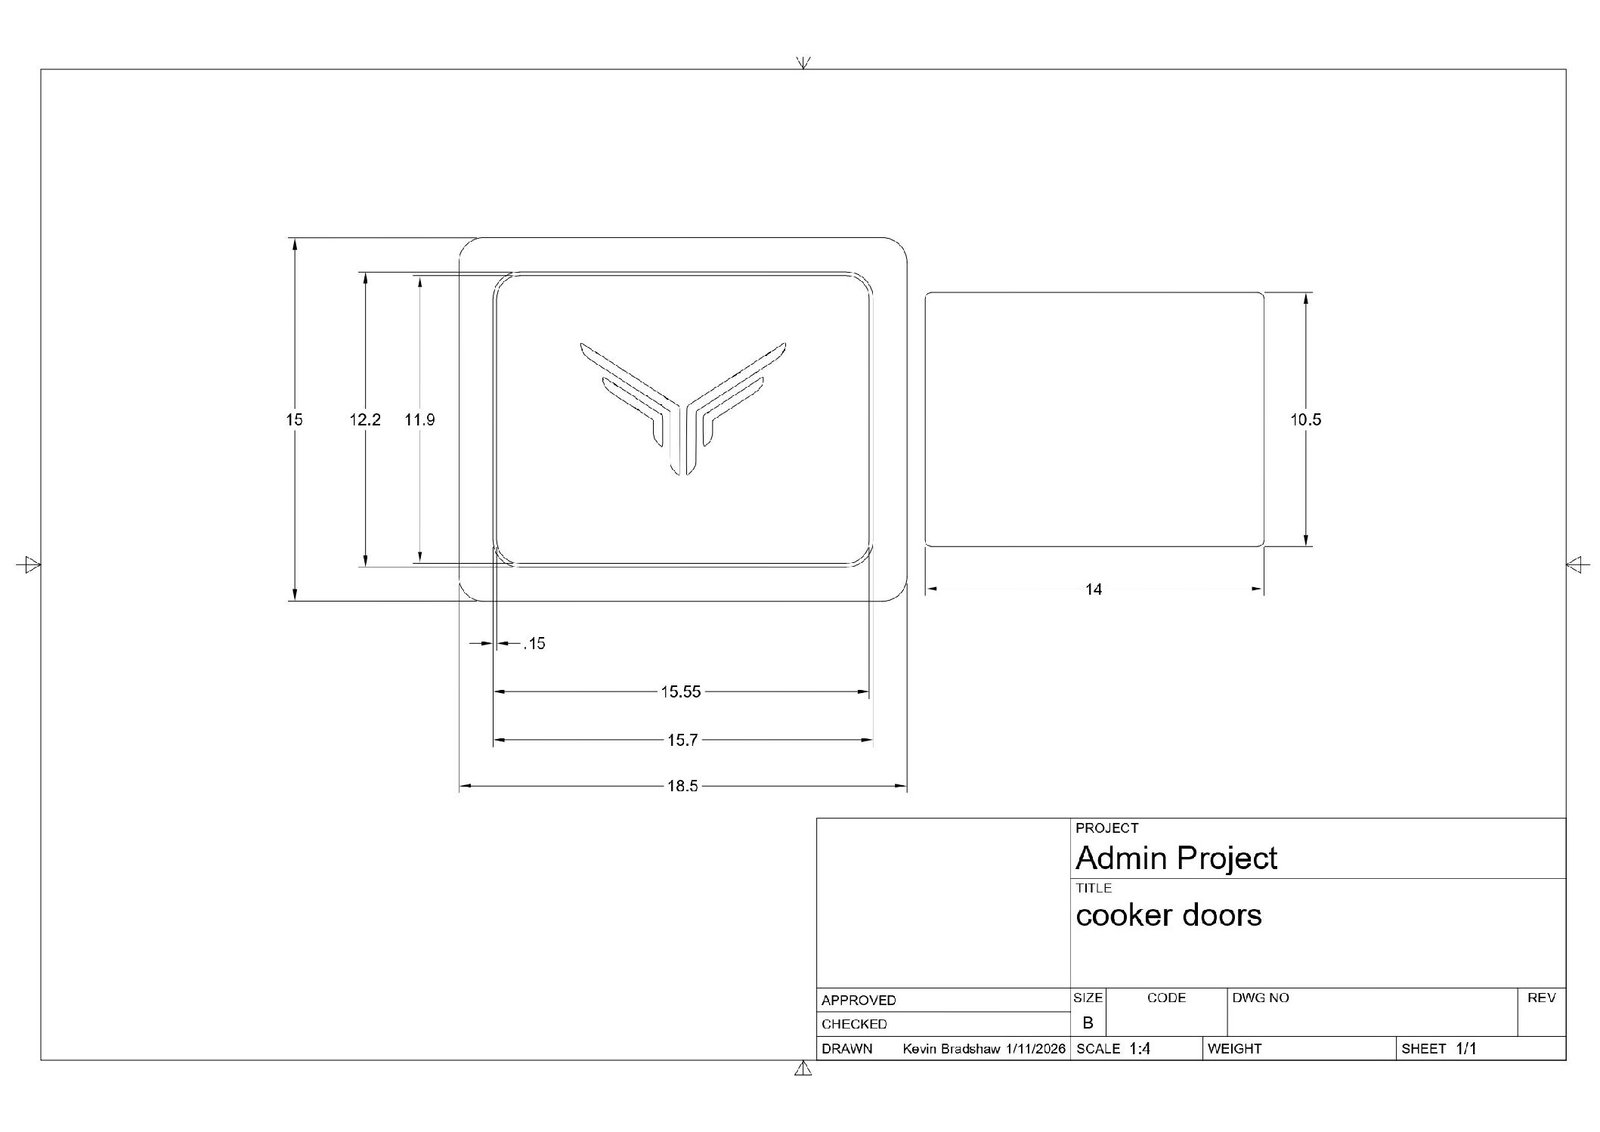


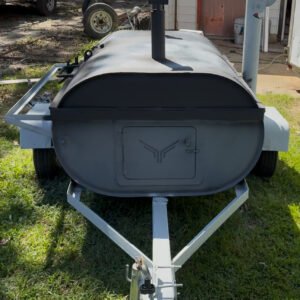

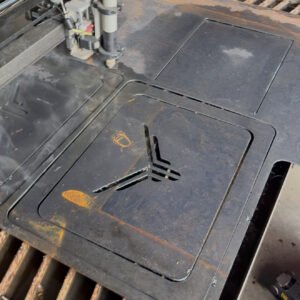
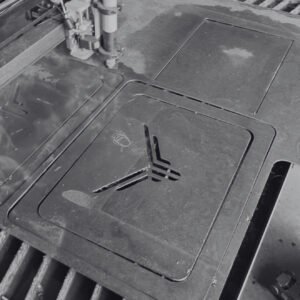

One steel CNC cut access door kit – includes an outer metal frame, outer door skin and inner door skin. (See drawing in product gallery for dimensions.)
*** Hardware sold separately. Hinges, handle and latches must be purchased separately.
Instructions:
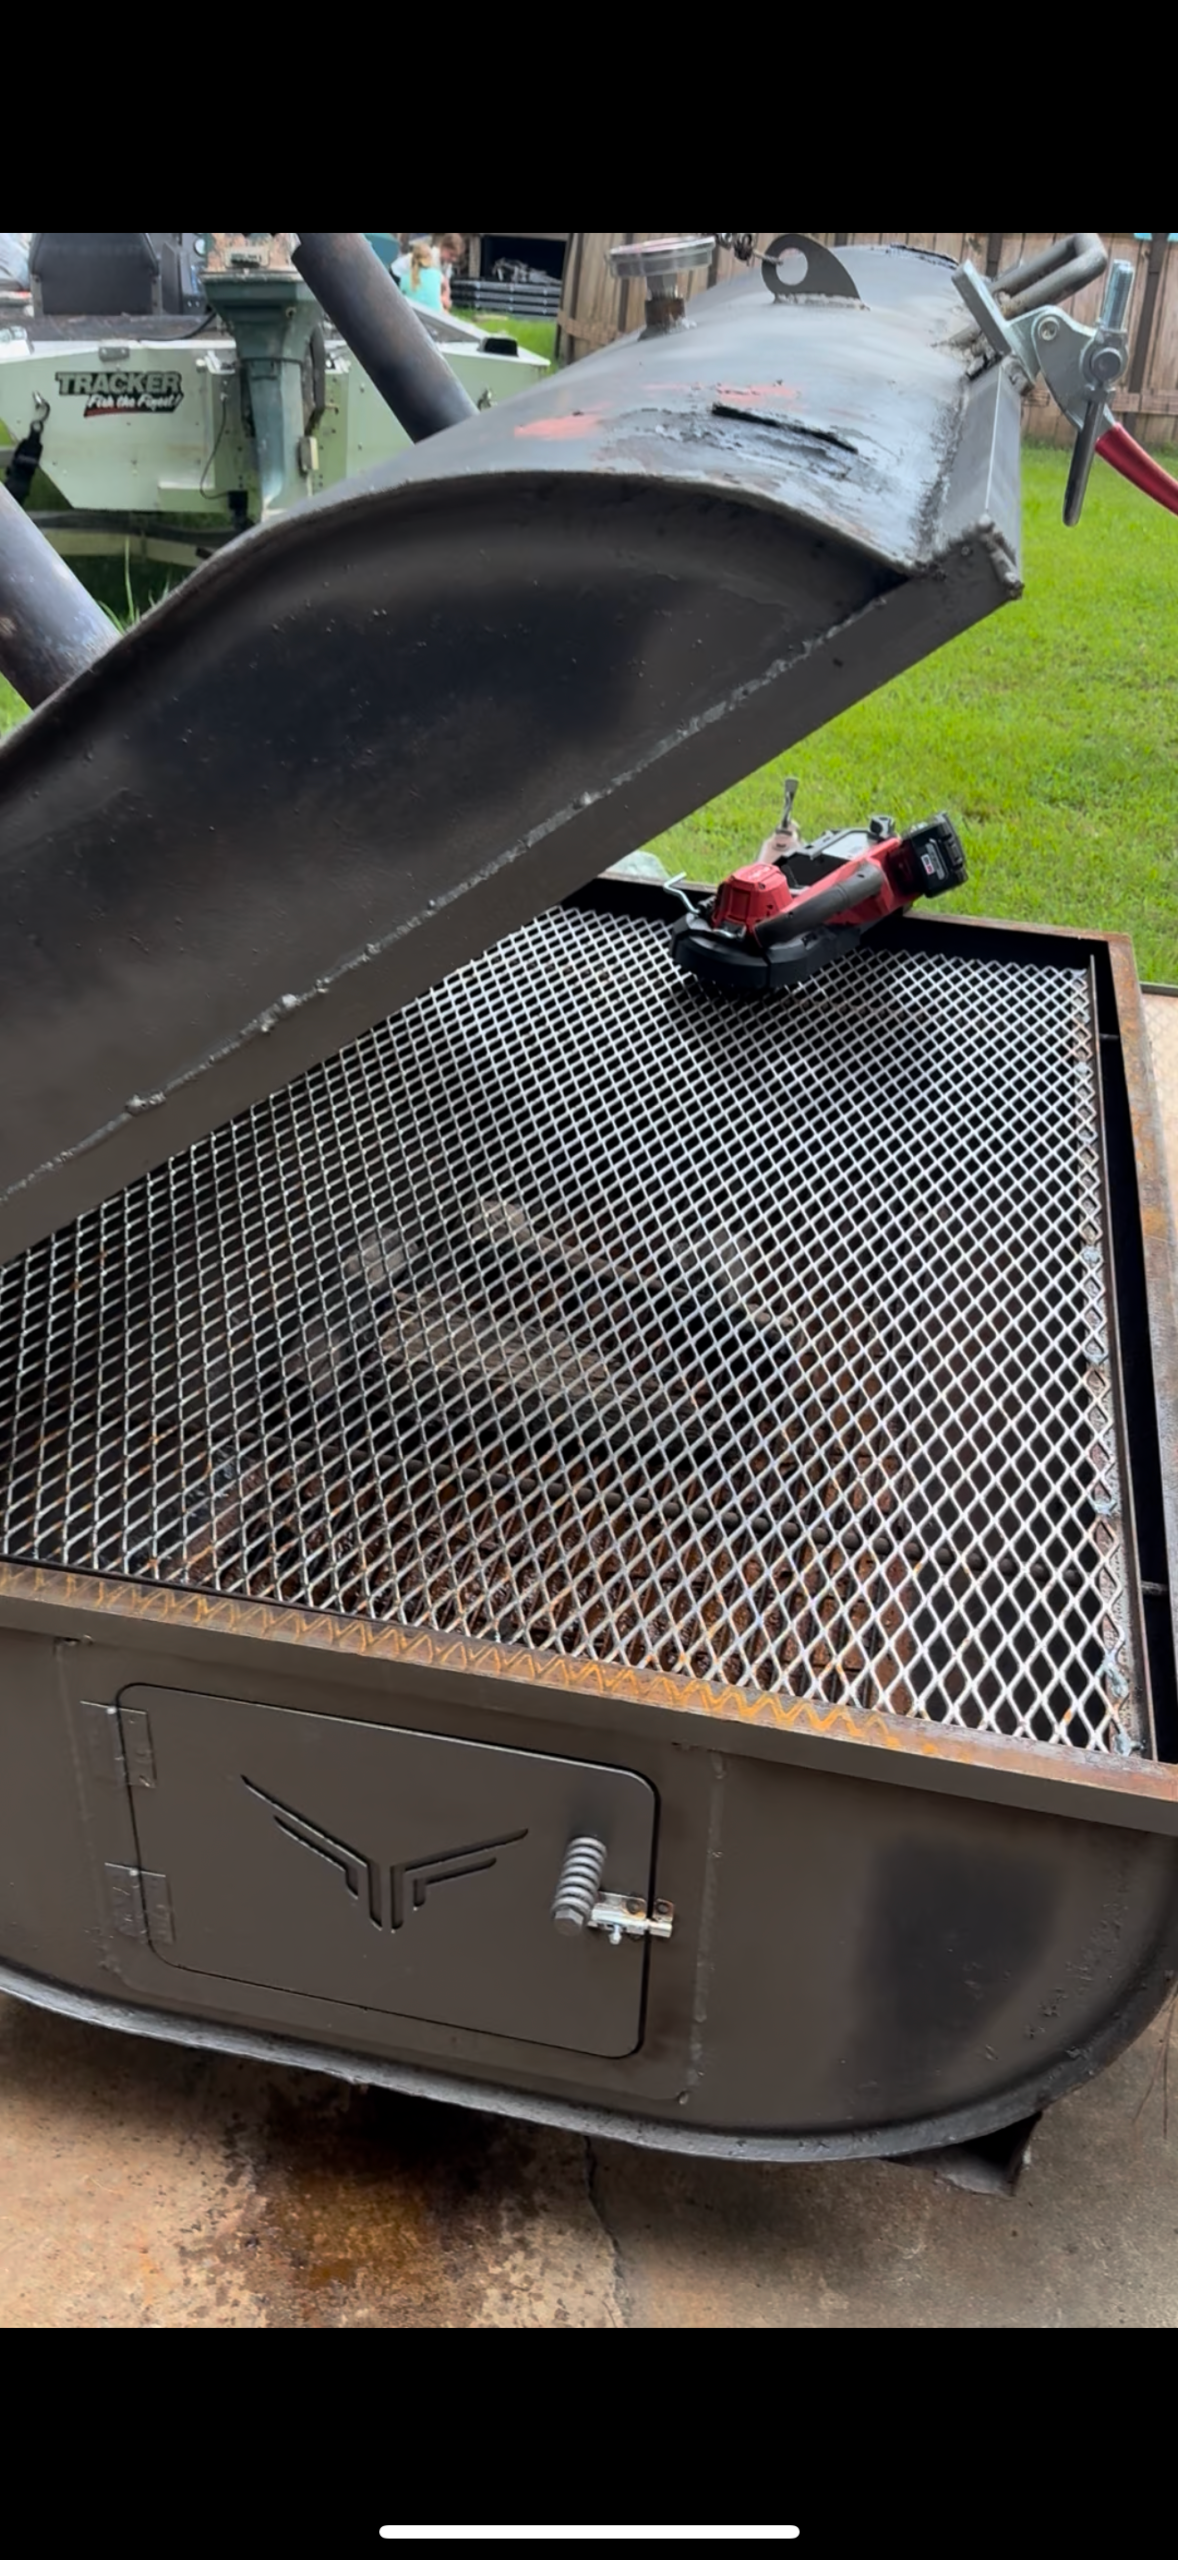
This kit must be assembled by the customer. It can be bolted or welded on to your project.
Welded assembly:
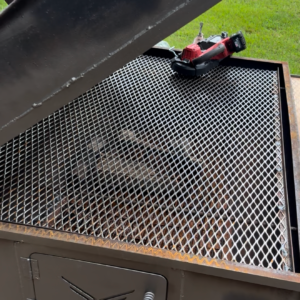
1 – Inner door panel should be used as a template to cut the panel ensuring proper sizing and desired placement of the door is achieved. You want this whole slightly larger than the inner door panel so that it will sit flush and doesn’t catch when opening and closing.
2 – The outer door panel is to be welded to the inner door panel. Drill four 1/2 inch holes in the corners of the inner door panel. Hole location should be 1 inch from the edges at each corner. Center the inner door panel on the outer door panel. Weld the 1/2 inch holes
3 – The outer frame is to be welded to the panel of your project. Ensure equal spacing around the cutout hole that you cut in step 1. Tack weld in place until door assembled door is complete and final weld after desired fitment has been confirmed.
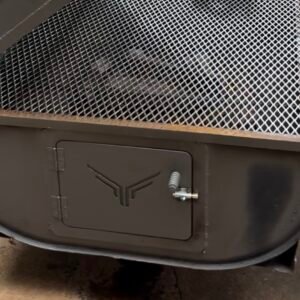
4- Center the welded door assembly in the frame and align so that all gaps are equal. You are now ready to install hinges, latches and handles. Follow instructions that come with your chosen hardware to complete door install.
NO Weld assembly
1 – Inner door panel should be used as a template to cut the panel ensuring proper sizing and desired placement of the door is achieved. You want this whole slightly larger than the inner door panel so that it will sit flush and doesn’t catch when opening and closing.
2 – Outer door panel is to be bolted to the inner door panel. Drill four holes in the corners of the inner door panel. Diameter of the hole should be the appropriate size for your chosen bolts. Hole location should be 1 inch from the edges at each corner. Center the inner door panel on the outer door panel and mark the hole locations on the outer door panel using the inner panel as a template. Drill holes in the marked locations. Align the two panels again and insert your hardware.
3 – The outer frame is to be bolted to the panel of your project. Drill four holes in the corners of the Outer Frame. Diameter of the hole should be the appropriate size for your chosen bolts. Hole location should be 1 inch from the edges at each corner. Ensure equal spacing around the cutout hole that you cut in step 1.
4 – Center the bolted door assembly in the frame and align so that all gaps are equal. You are now ready to install hinges, latches and handles. Follow instructions that come with your chosen hardware to complete door install.
| Weight | 20 lbs |
|---|---|
| Dimensions | 20 × 16 × 1 in |
| Thickness | 12 gauge .1054, 11 gauge .1200, 10 gauge .1350, 8 gauge .1650, 3/16 .1875 |
Only logged in customers who have purchased this product may leave a review.
Reviews
There are no reviews yet.